Looking for part 1?
Introduction
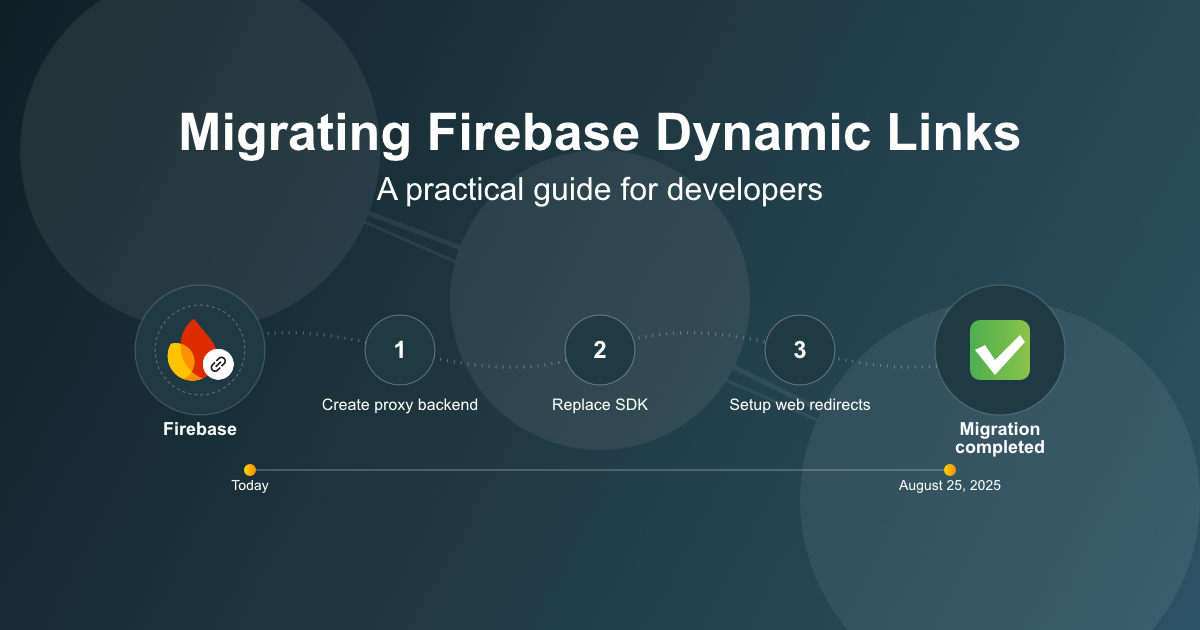
In part 1 we established the strategy to handle the Firebase Dynamic Links migration, and we finished the backend and app implementation. As promised, here’s a good way to set up web redirects for our existing dynamic link domain.
Given your custom domain myapp.com used by Firebase Dynamic Links, this is the part that handles when the user clicks on https://myapp.com/link, and the user does not have the app installed.
You can handle this with a static files server or a dynamic server. If you choose to do it with a static files server, it will cost likely next to nothing but it will likely be a bit slower for new users (loading code to detect platform) and it will not be able to render dynamic social tags. So let’s do it with a dynamic server.
You can use any dynamic server you want, provided it can call your consume-dynamic-link endpoint from part 1. To stay in the Firebase ecosystem you may use Firebase Cloud Functions.
Handling user redirections
First, let’s handle user redirections.
It should get the dynamic link info from the current url, detect the user’s platform (likely from the user agent), and redirect accordingly. Here’s some pseudocode:
async function handleDynamicLink(request, response) {
    const platform = getPlatform(request.userAgent);

    try {
        const dynamicLink = await getDynamicLinkFromUrl(request.url, platform);
        redirectToDynamicLink(dynamicLink, platform, response);
        return;
    } catch (error) {
        // log errors
        redirectToDynamicLink(undefined, platform, response); // or do something else
    }
}
The getDynamicLinkFromUrl will look very close to the same function in part 1.
The redirectToDynamicLink will return an HTTP redirection to the store, or to a fallback URL.
Handling social images in shared links
When users share the link in an app like Facebook, a crawler will try to find social tags in order to show a title, description and image next to the link. Our server should thus detect crawlers (as best as it can), and render some HTML with these social tags.
Some dynamic links have social tags associated to them, some not, and you may want to use default social tags.
Here’s an example of the HTML:
<!DOCTYPE html>
<html lang="en">
<head>
    <meta charset="utf-8">
    <title>My app</title>

    <meta property="og:type" content="website">
    <meta property="og:title" content="My dynamic link title">
    <meta property="og:description" content="My dynamic link description">
    <meta property="og:image" content="${encodedImageUrl}">
    <meta property="og:url" content="${encodedFallbackUrl}">

    <meta name="twitter:card" content="summary_large_image">
    <meta name="twitter:title" content="My dynamic link title">
    <meta name="twitter:description" content="My dynamic link description">
    <meta name="twitter:image" content="https://img.myapp.com/mydynamiclinkimage.png">

    <meta name="description" content="My dynamic link description">
    <meta name="image" content="https://img.myapp.com/mydynamiclinkimage.png">

    <meta http-equiv="refresh" content="0;url=encodedRedirectionUrl">
</head>
<body>
    <script>
        window.location.href = "${encodedRedirectionUrl}";
    </script>
</body>
</html>
Putting it all together
Once your server is deployed in production, we will change your DNS entries.
Before, myapp.com was pointing to Firebase. Now it should point to your new server that handles dynamic links.
Note that if you use Firebase Cloud Functions for this “server”, you will need to:
- remove the custom domain from your old Hosting website linked to Firebase Dynamic Links
- add the custom domain to the new Hosting website linked to your Cloud Function
- which may include updating your DNS entries for the custom domain
myapp.com
Enhancements
If that’s not already the case, you may want to cache the responses of your consume-dynamic-link endpoint if initial traffic is coming from a crawler.
Similarly, crawlers should not count in your click analytics so ignore these if you have analytics in your consume-dynamic-link endpoint.
For tracing purposes, when redirecting to the stores, you may also want to set a specific campaign token (iOS) or referrer (Android).
On Android, you may also redirect to a market:// in order to show a “Continue” button after installation that will redirect the user to your deeplink.
Conclusion
That’s it! Now you own your dynamic link approach from A to Z and you can change the logic as much as you’d want.
If you need help migrating, give me a ping at lagrange.louis+consulting@gmail.com.
Alternatively, you can buy a code template here. And if you’re an AppZung CodePush customer, email me to get a 20% discount on this code template.

0 comments
0 replies